Maserati Ghibli engine

Here starts the assembly of the engine for chassis 115 274. It was delivered as a completely disassembled unit with most of the parts supplied. Importantly the essential parts were all matching, such as sump and main bearing caps to cylinder block. Many of the parts have been sourced and the assembly will be fully detailed. 

Weber 40 DCNL carburettors

Reference photos

Some of the reference photos.

Assembly

Special attention was paid to making sure that each carb had equal balance before staking the butterfly screws. There is no means of adjusting the air volume between each Venturi so super critical to get the balance bang on. The butterfly screws had a drop of blue Loctite 243 for added security, an old motor racing habit!

Inlet manifold

The inlet manifold is the twin thermostat type and fitted to the early cars. The engine has suffered poor maintenance namely no antifreeze and the only way to deal with this corrosion was some serious welding. Carrs Welding Technologies in Kettering https://carrswelding.co.uk took care of this with their specialist laser welding and TIG. 

Before welding the thermostat area, measurements were taken and a machining drawing created so the thermostat detail could be reinstated.


Engine dummy build

Due to the engine being delivered apart, there were a few checks which needed to be carried out which would have been done when the engine was stripped, but alas this opportunity was not available hence the dummy build.

Heat exchanger cleaning

Damage and corrosion on cylinder heads

The cylinder heads were in very poor condition, with heavy corrosion and cracks in varying places. These cracks will be addressed by using cold TIG and Laser to avoid any distortion. 

Cylinder heads after welding

Thanks to https://carrswelding.co.uk for taking care with this part of the project. Their service and turnaround time was superb. New valve guides and seats will be fitted and the heads skimmed. The factory dimension for the cylinder bowl depth is 26mm and it appears that the heads have never been skimmed which is commensurate with the rest of the engine which had the original pistons and std crank bearings all be it in poor health. 

Cylinder block repair to engine mounting

Engine internals

Cylinder liner removal

The block was heated in the oven to 120 deg C. A thermocouple was bolted to the block so you know the real temp. Taking the block out at 119 deg C enabled all the liners to be pulled out with ease.

Fitting new liners

The liner o rings are specials and not available as a standard o ring so these have to come from a Maserati parts specialist. The new liners required shortening compared to the originals and this is a feature of early cars. The o ring is in a different place, but this will not cause a problem. The new liners measured bigger in OD than the originals at nearly 0.050mm so the fitting became more tricky and only two liners could be fitted at a time before the block needed to go back in the oven. The old liners came out in one hit so had much less interference. The greater interference should be better from a working perspective. Measurements of the liner and block depth were taken before the liners were fitted so that the liner stand off can be measured post fitting to act as a double check that the liners are fully home. The liners once fitted stand proud of the block by 0.9mm. The block is now ready to be dispatched to the machine shop for boring and deck height once the pistons have arrived.

Crankshaft grinding

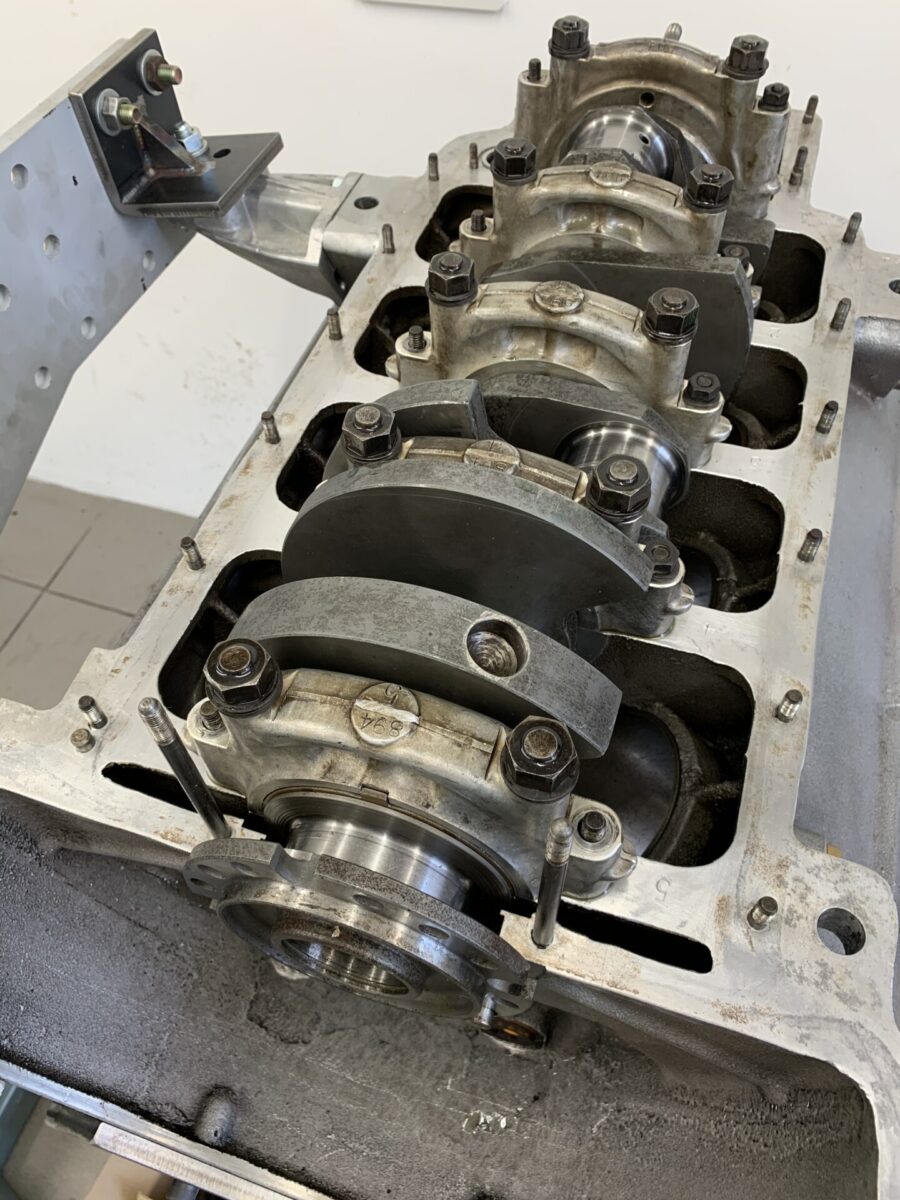
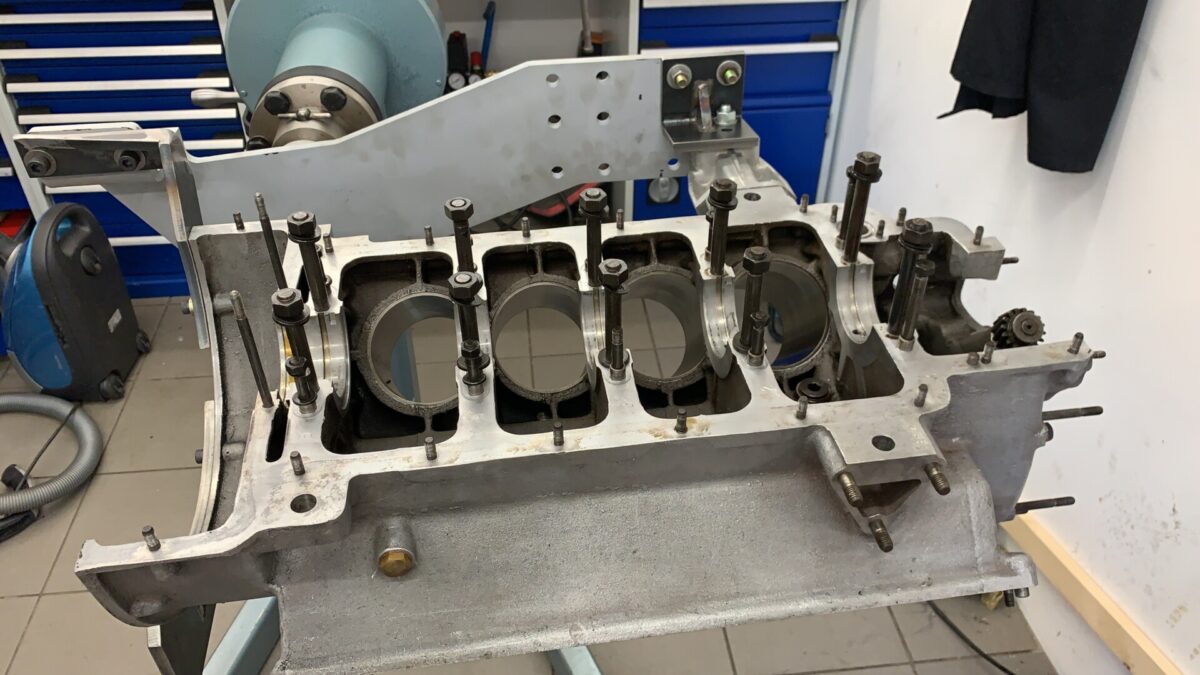
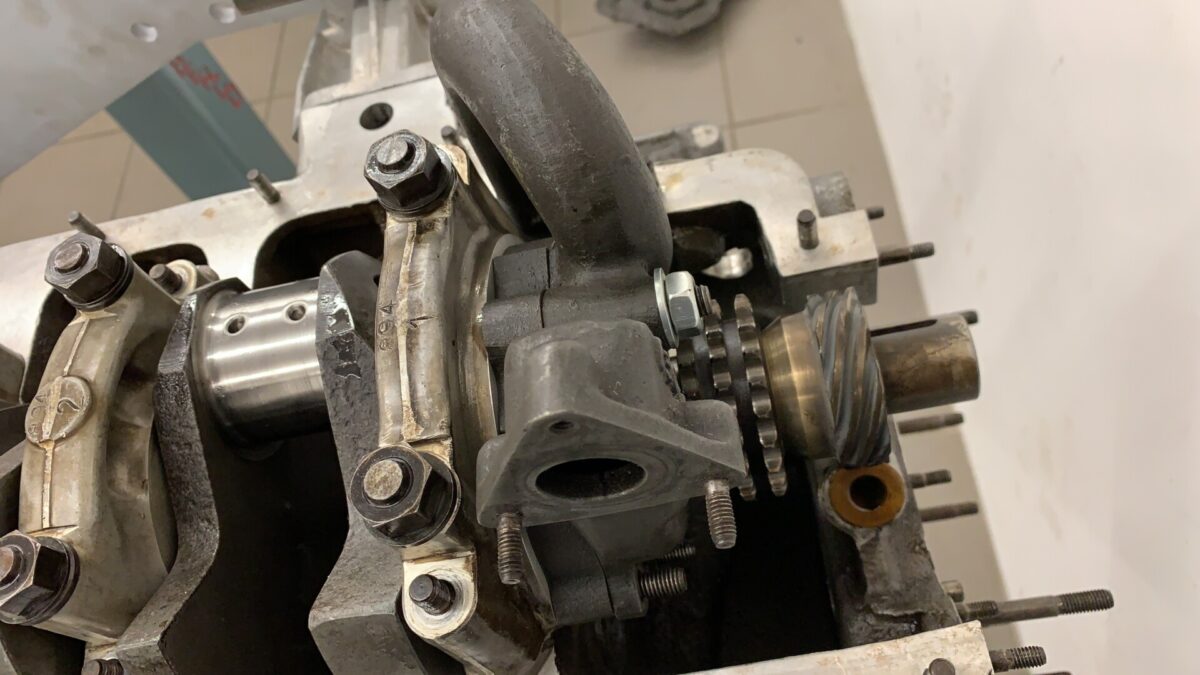
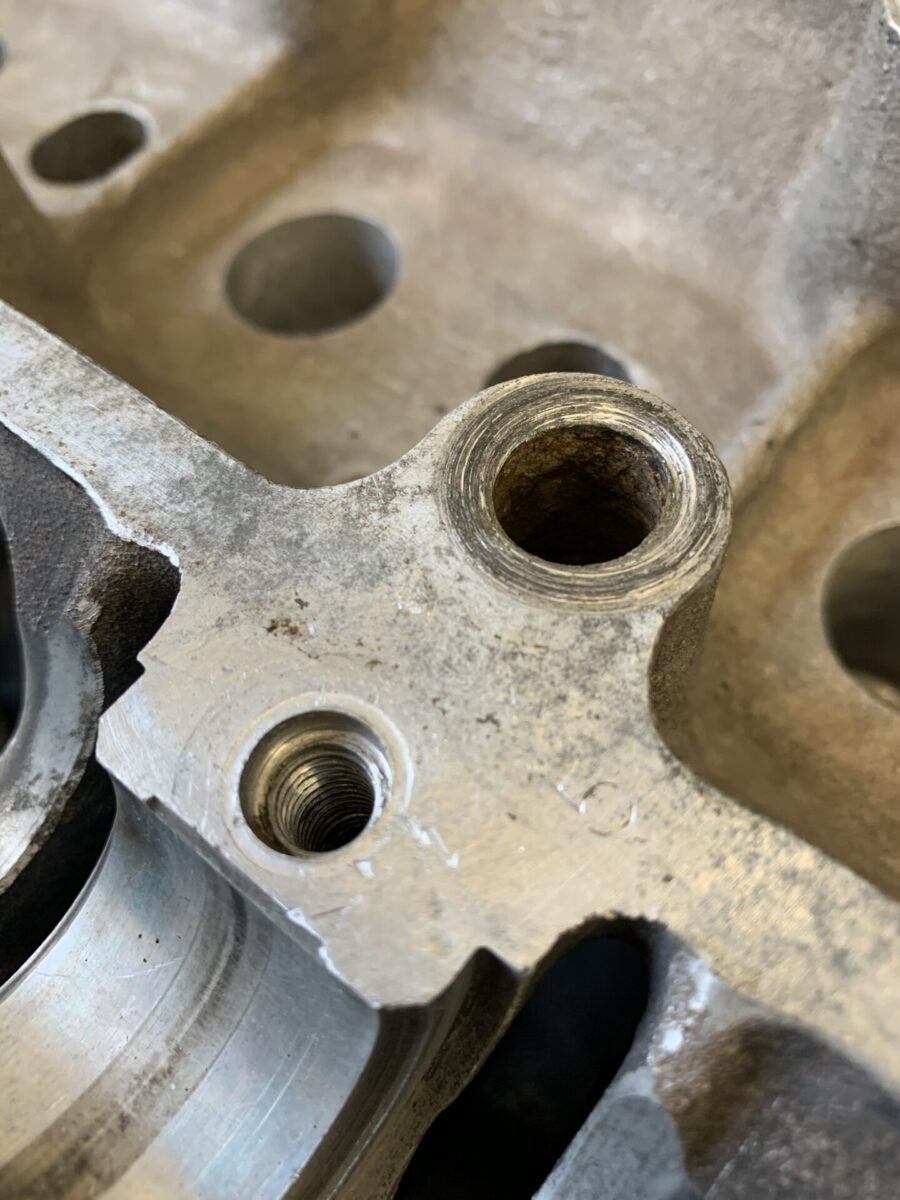
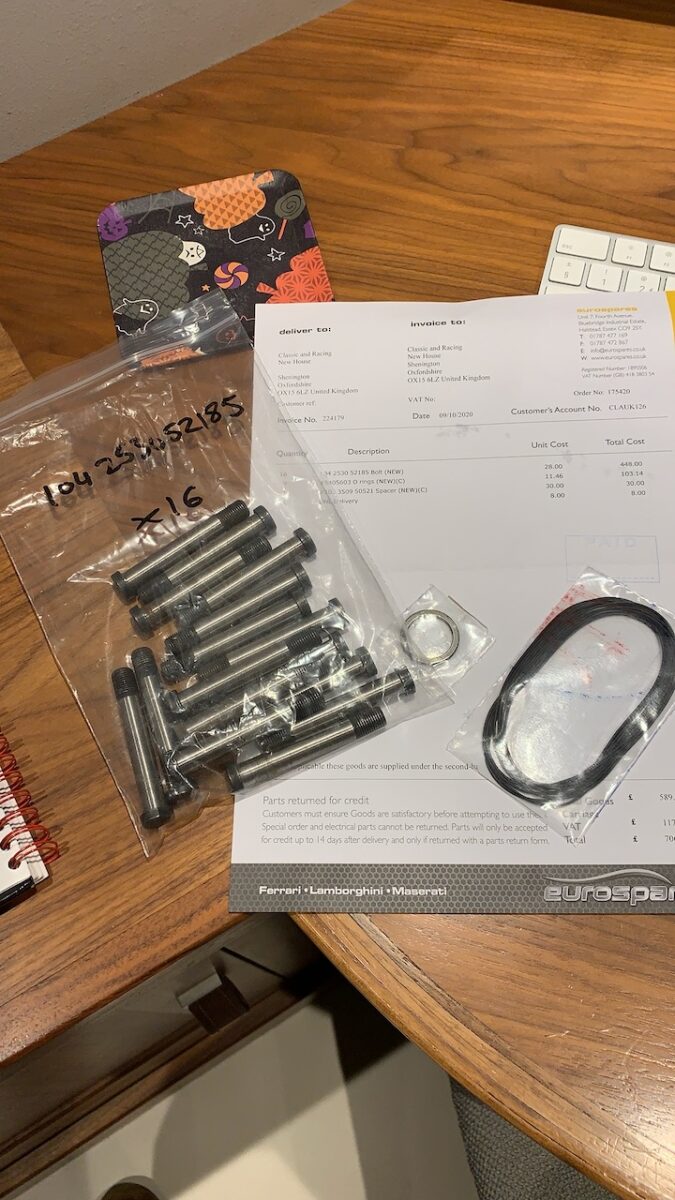
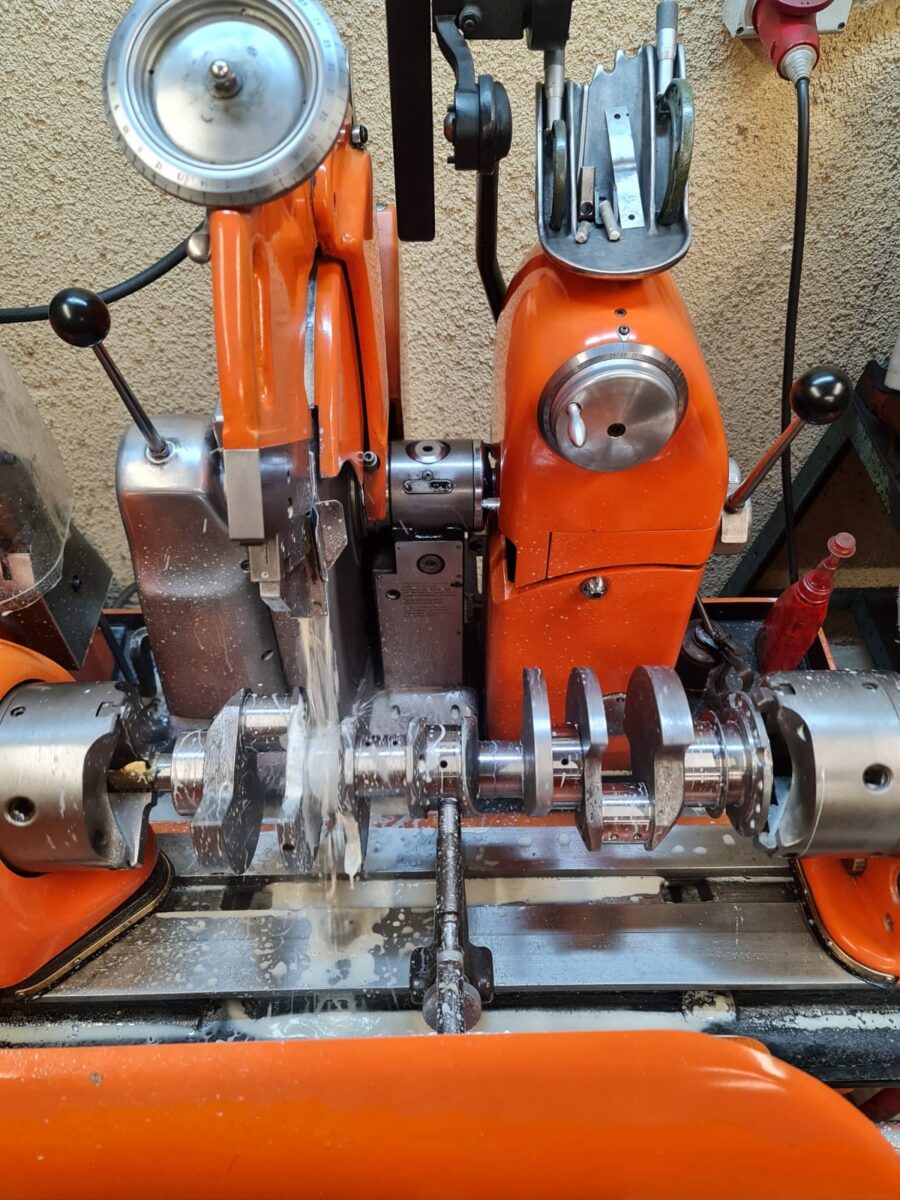
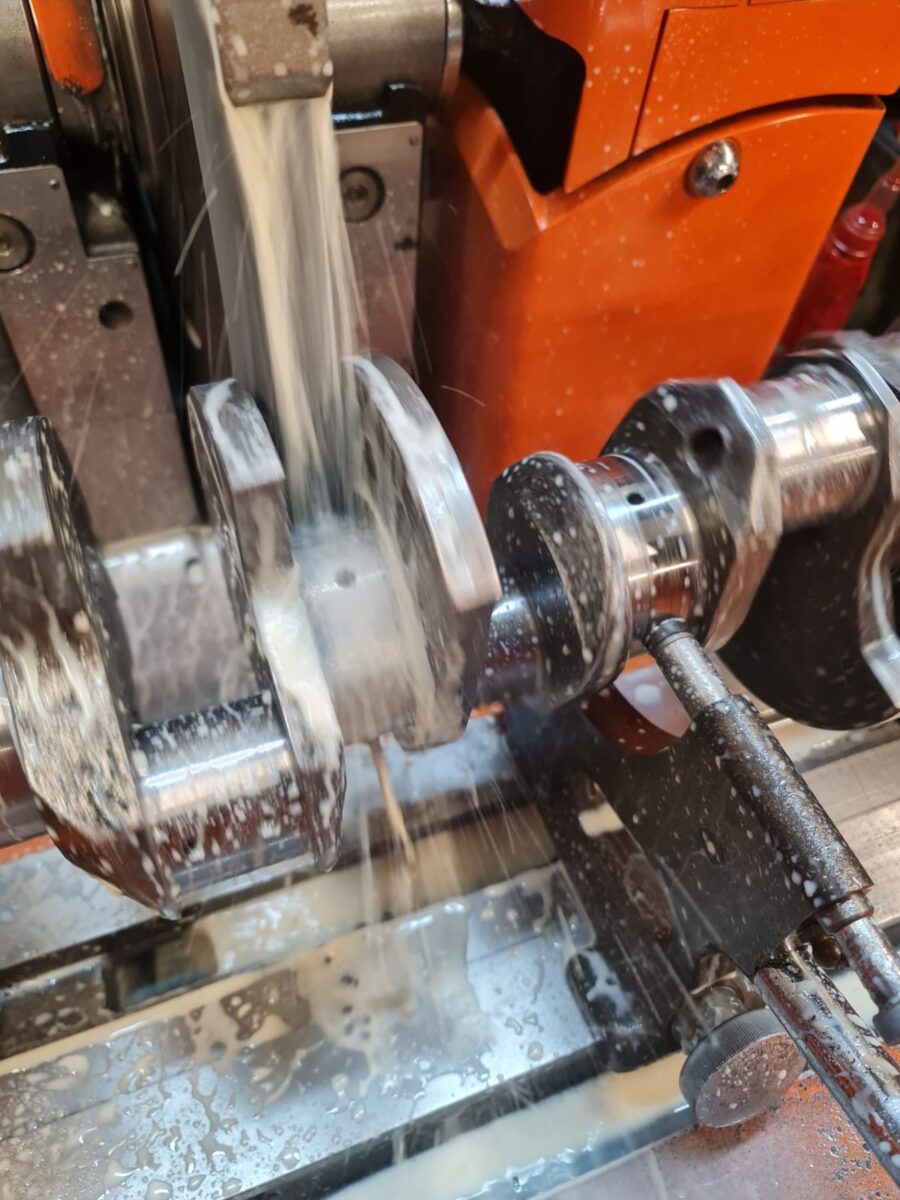
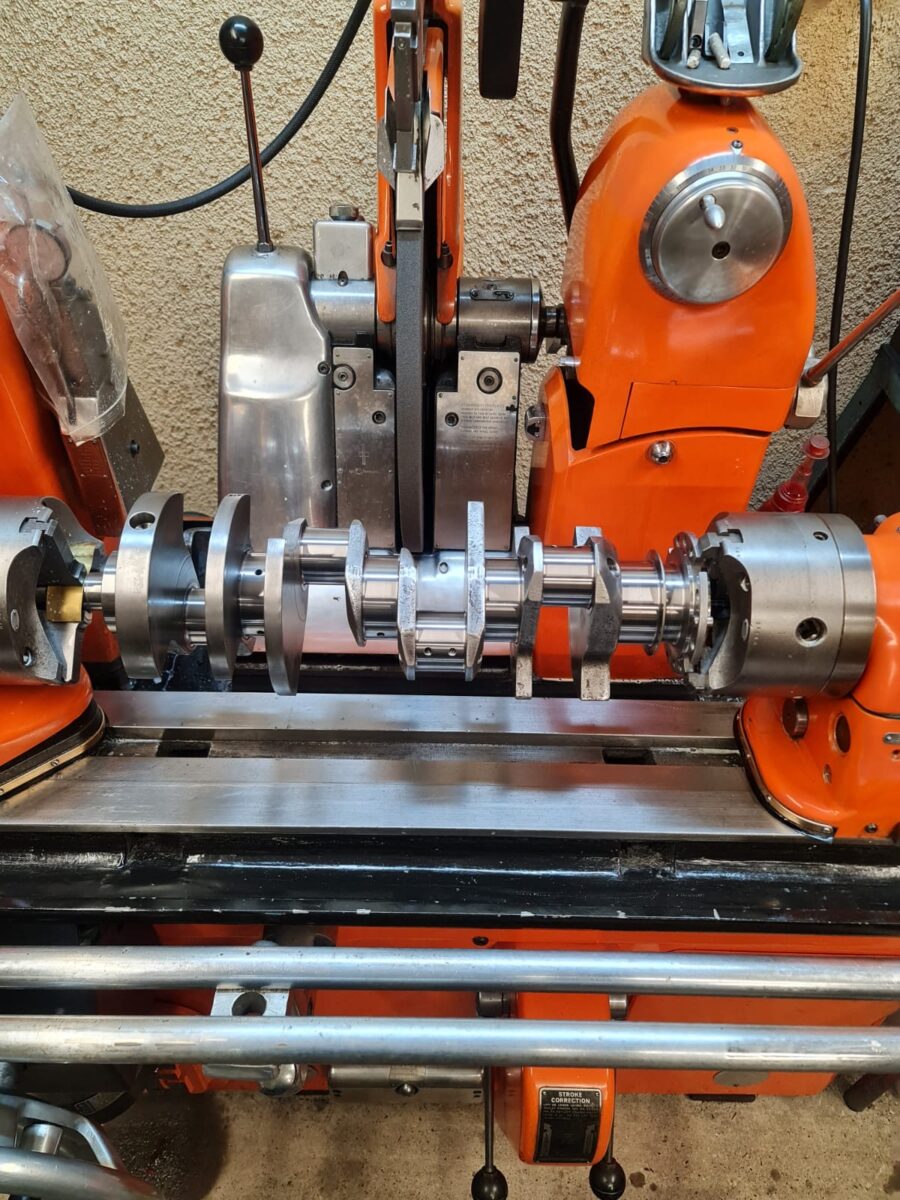
The crankshaft has ground up to 0.010″ undersize so now the bearings can be ordered. It has been previously NDT’d so good from a crack perspective. Next part is balancing, but due to the incomplete project no flywheel bolts and nuts were supplied and are M9 specials. 

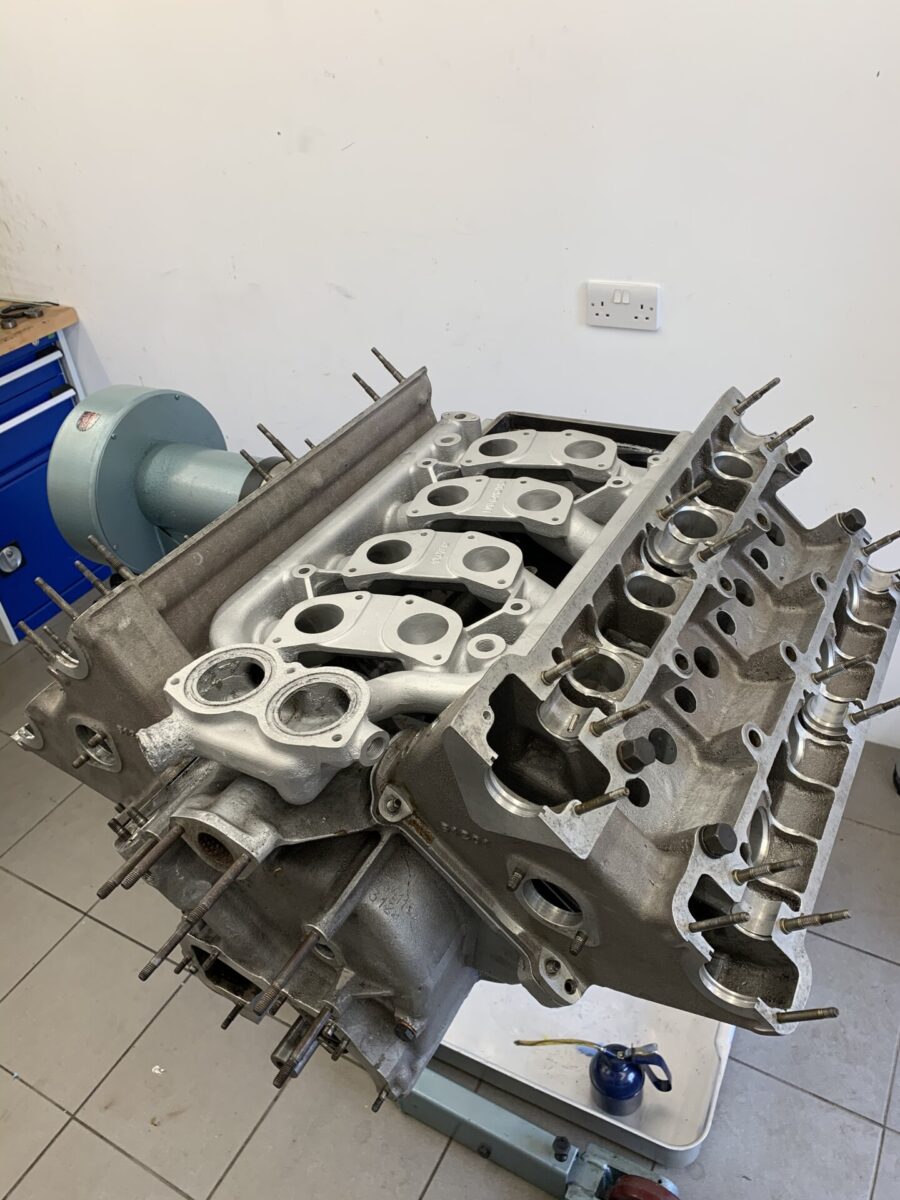
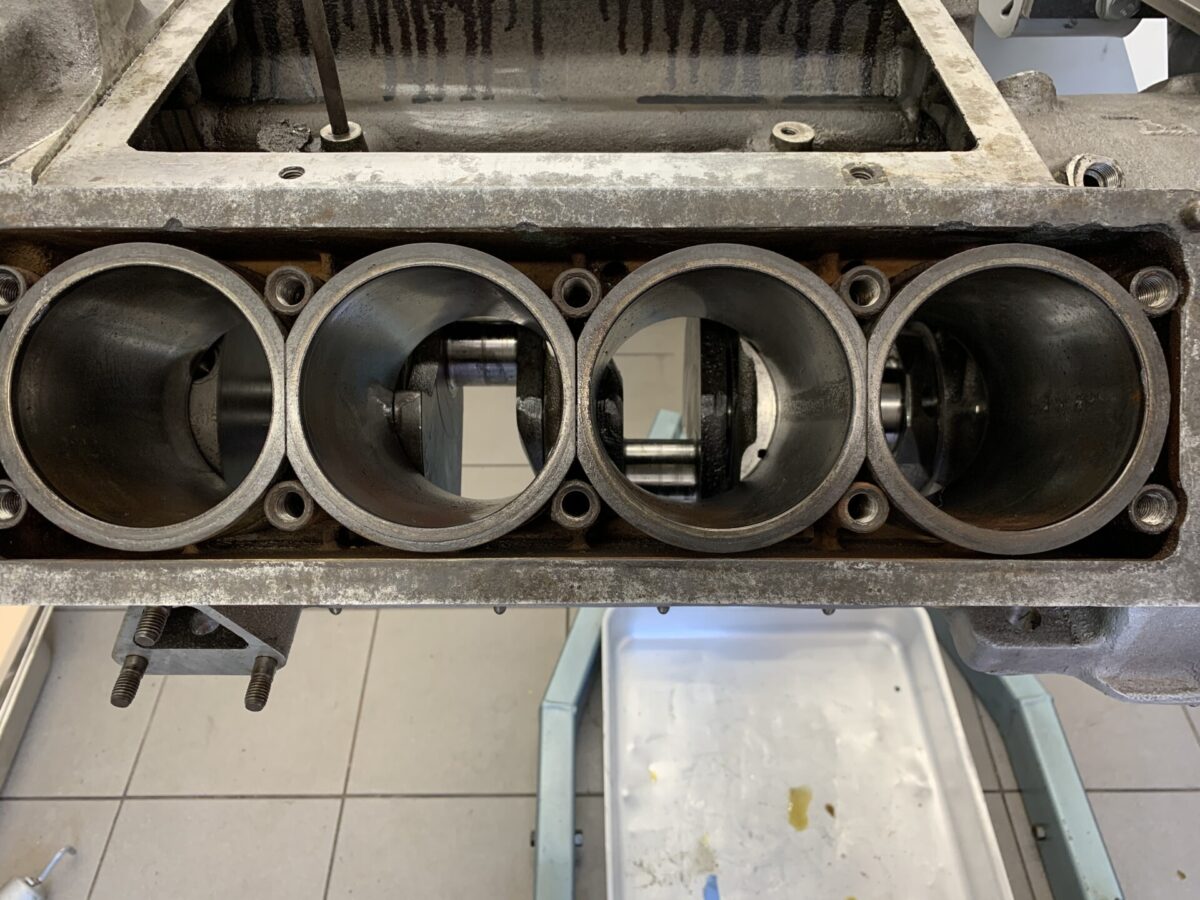
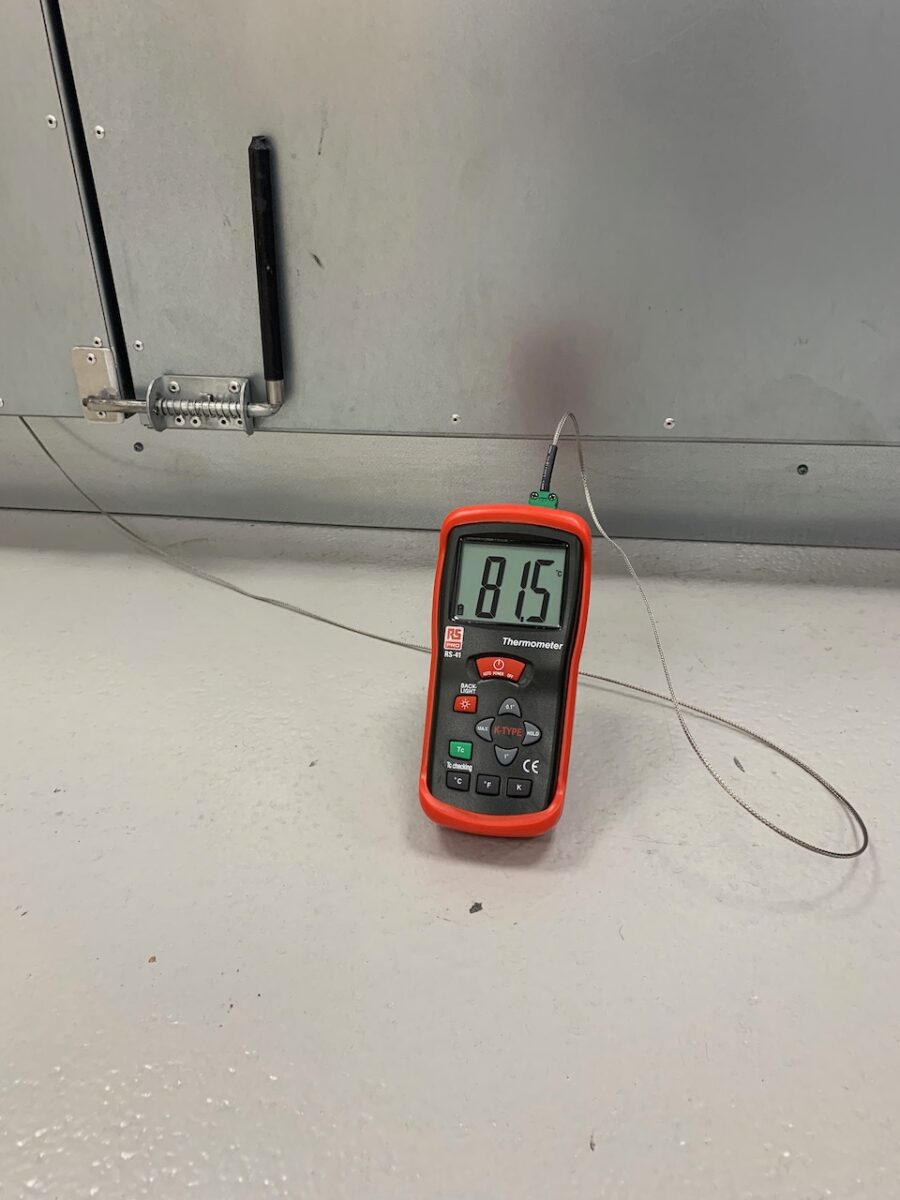
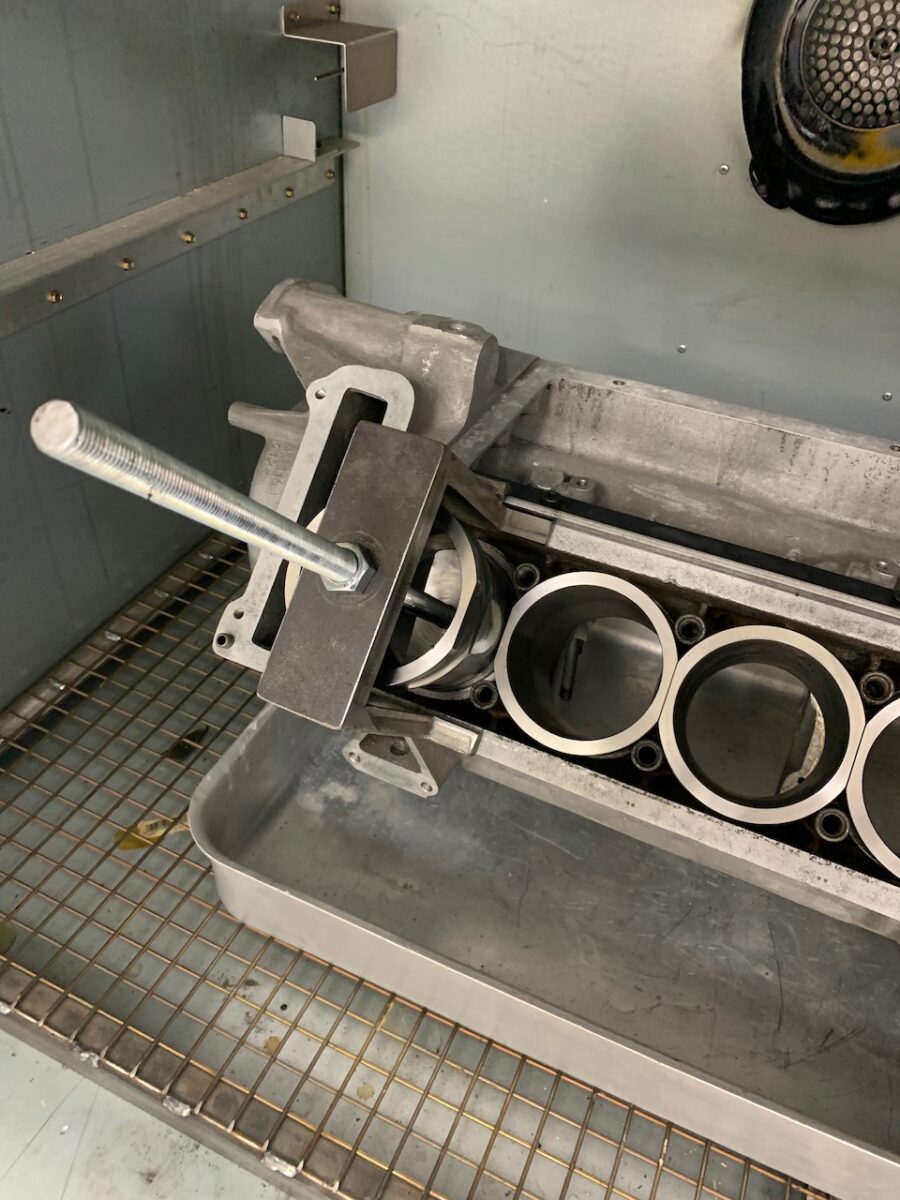
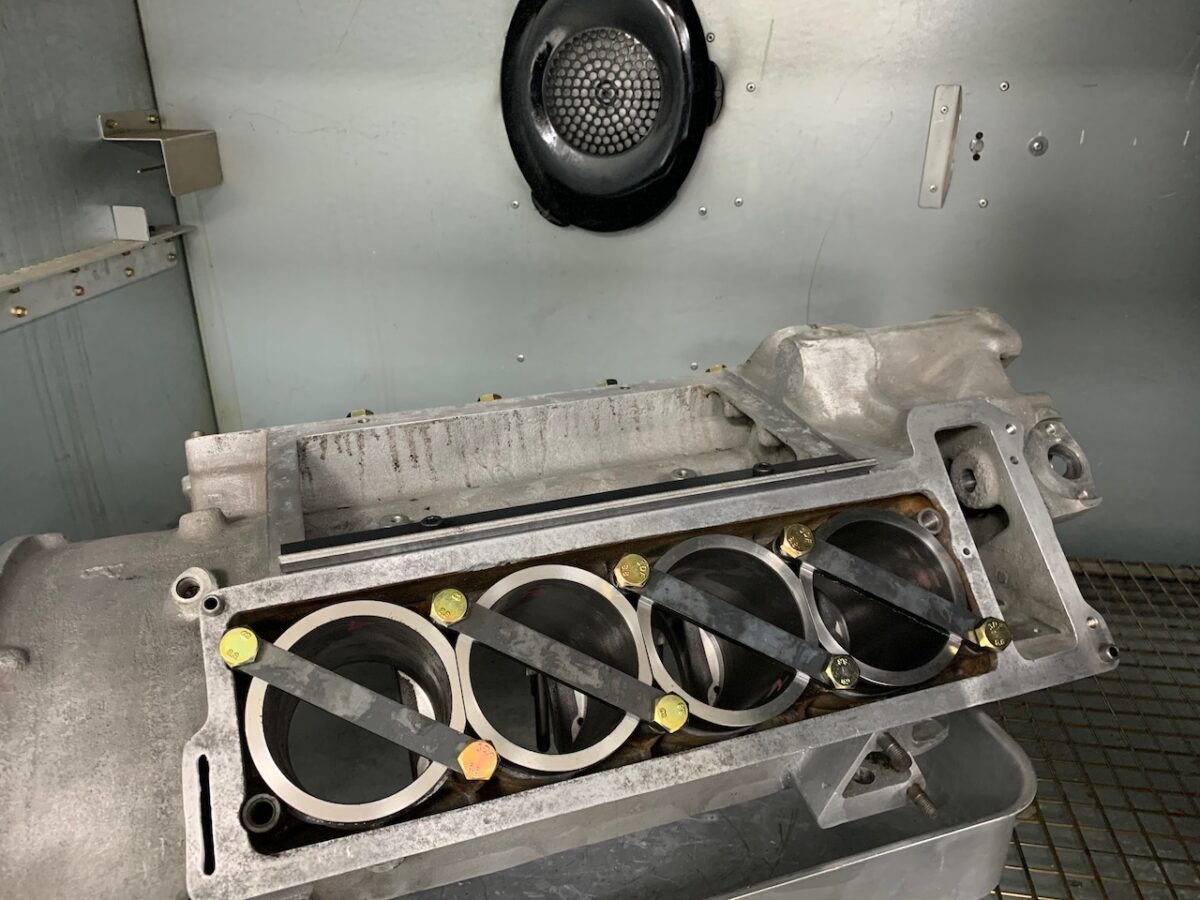
Awaiting parts before crankshaft balancing and engine block machining can take place.